Roles
A role represents whatever you're collecting responses for — a job, an audition, a topic, a use case. Each role has its own context, AI-generated insights, and challenge.
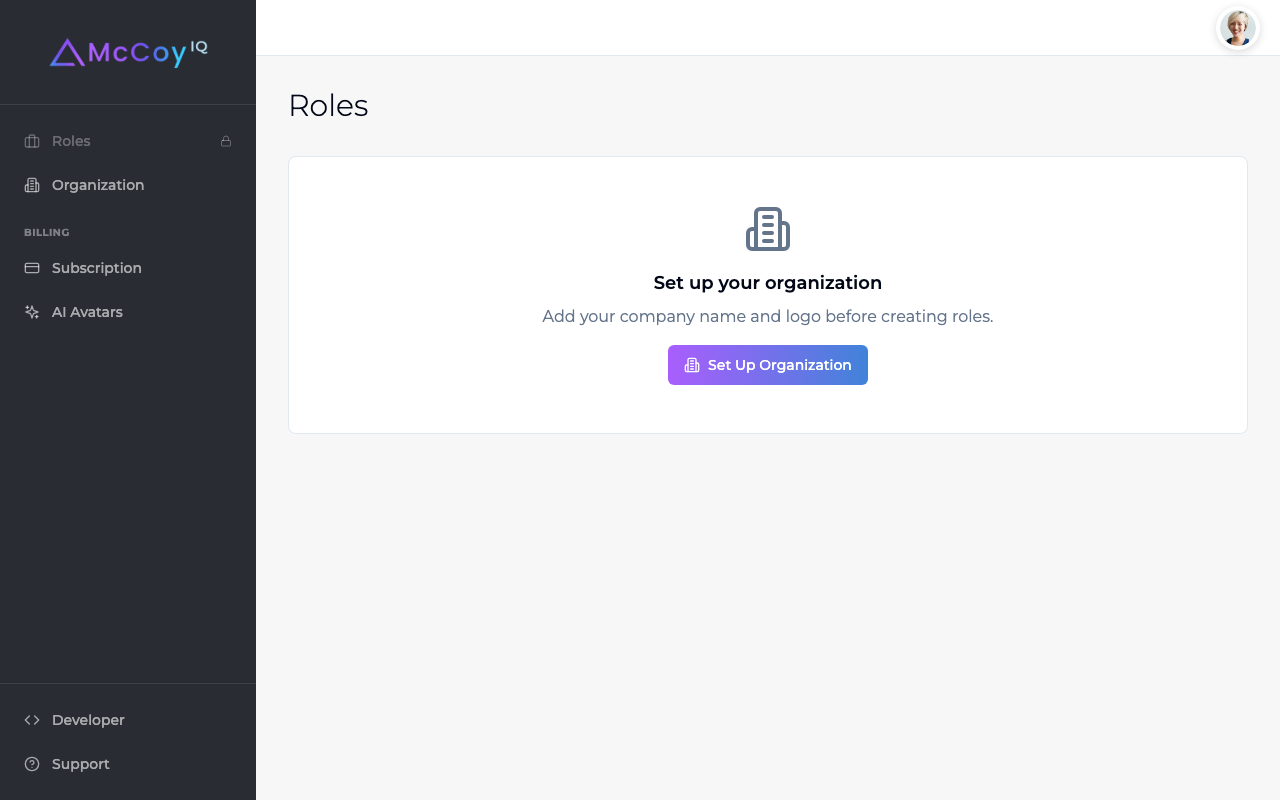
Before you start
Before creating your first role, you need to set up your organization. Go to Organization in the sidebar and add your company name and logo. This information appears on your challenge pages and any respondent-facing content.
Creating a role
- 1
Click Create Role from the Roles page (or + New Role if you already have roles).
- 2
Enter the title (e.g., "Senior Frontend Engineer" for a job, or "Customer Discovery" for a research project). Keep it under 50 characters — this appears on the challenge page header.
- 3
Choose whether this role is for your organization or for a client (if you're running this on behalf of another company — e.g., agencies, consultancies, or fractional recruiters).
Role detail page
After creating a role, you'll land on the role detail page. This is your hub for managing everything about this role — the supporting context, requirements, challenge, content, preview, and responses.

The sidebar navigation shows each step in the workflow:
- General — title, company selection, role status
- Requirements — upload supporting context (PDF or text) to seed AI insights
- Challenge — select or generate a challenge question
- Content — intro script, key highlights, branding, video
- Preview — see how the challenge page looks before publishing
- Responses — review submissions
Locked tabs (shown with a lock icon) unlock as you complete earlier steps. For example, Content unlocks after you select a challenge question.
Adding supporting context
The Requirements tab is where you upload supporting context — typically a job description, but it could be a research brief, a casting note, a topic outline, or anything else that describes what you're looking for. This is the most important step — the quality of your AI-generated challenge questions depends directly on the context you provide here.
You can provide the context in two ways:
Upload a PDF
Drag and drop or click to upload the full document. McCoy extracts the text automatically using OCR. This is the fastest option if you already have a formatted file.
Paste text
Copy and paste the text directly into the field. Useful when the source is in an email, a doc, or other non-PDF format.
Role Insights
Once supporting context is uploaded, McCoy's AI automatically generates Role Insights — an analysis of the role covering:
- Key competencies and skills to evaluate
- What distinguishes strong respondents for this specific role
- Potential follow-up angles and conversation starters
- Industry context and role-specific considerations
Role Insights generation takes a few seconds and happens automatically. These insights power the challenge question recommendations — you don't need to read them, but they're available if you want to review what the AI understands about the role.
Role status
Each role has a status shown on the Roles page:
- Draft (yellow) — the challenge hasn't been published yet. You're still setting up.
- Live (green) — the challenge is published and accepting responses.
- Closed (red) — the role is closed and no longer accepting responses.
You can close a role from the General tab by clicking Close Role. Closed roles and their responses are preserved — you can view them anytime, but no new responses will be accepted. You can reopen a closed role later.
Client roles
If you're running McCoy on behalf of a client company (an agency, consultancy, or fractional engagement), select "This is for a client" when creating the role. Client roles use the client's branding (logo, colors, fonts) on the challenge page instead of your organization's branding.
Manage your clients from the Clients page in the sidebar. Each client can have their own branding, website URL, and multiple roles.